Chicken Broth: Waste Not, Want Not
Hey there! Did you know that making homemade chicken broth from leftovers is a fantastic way to reduce waste and extract maximum flavor from a chicken carcass or leftover chicken bones? It’s like getting two meals for the price of one! Plus, there’s something so satisfying about creating something delicious from what would otherwise be thrown away.
Ingredients and Preparation: Let’s Get Cooking
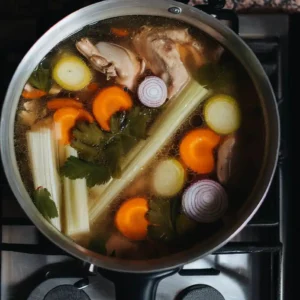
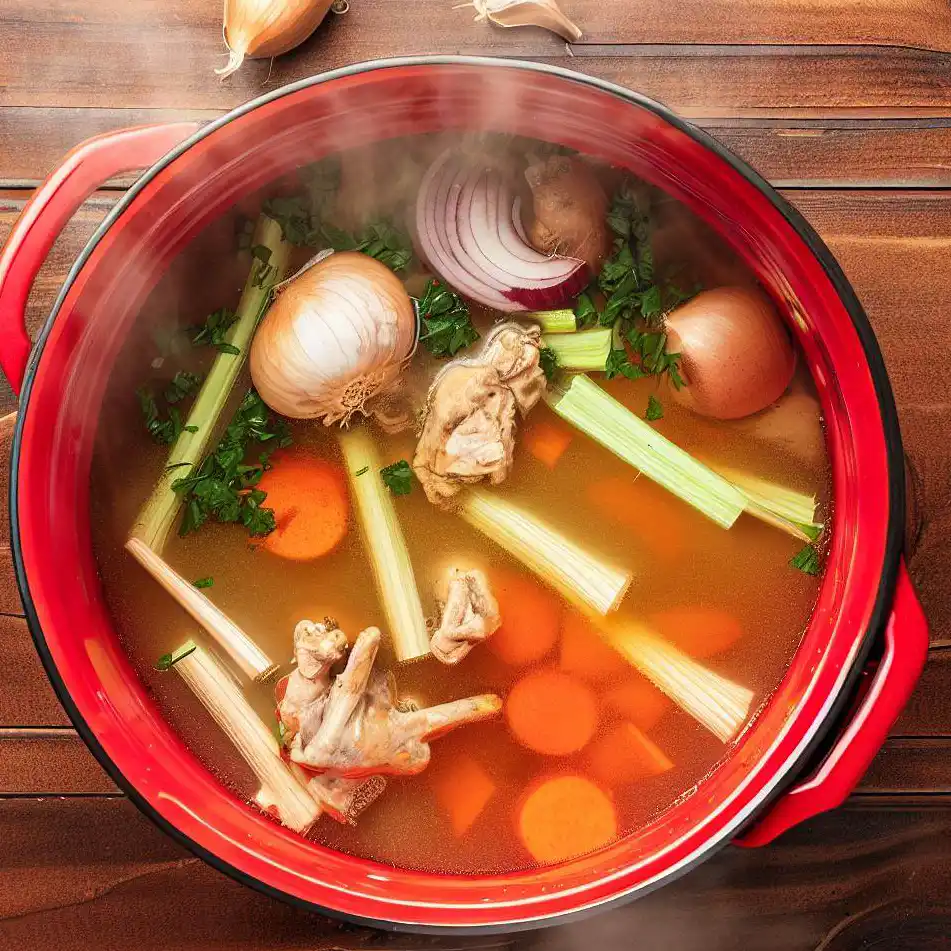
Here’s the scoop on how to make it: start by collecting your chicken carcass or leftover bones in a large stockpot. If using a whole chicken carcass, you can break it down into smaller pieces for easier handling. If you have vegetable scraps like onion skins, carrot peels, or celery tops, toss them in too. These will enhance the flavor of the broth but aren’t essential. Add the roughly chopped onion, carrots, celery and smashed garlic cloves to the pot. These veggies will provide additional flavor to the broth.
If you have any fresh herbs like parsley, thyme or rosemary, tie them together with kitchen twine and add them to the pot. This step is optional but will add aromatic notes to the broth. Toss in the bay leaves and peppercorns. These spices will infuse the broth with additional flavor. Fill the pot with enough water to cover all the ingredients, leaving about an inch of space at the top. The exact amount of water will vary depending on the size of your pot and the quantity of bones and vegetables.
Cooking Process: Simmer Down Now
Place the pot over medium heat and bring it to a gentle simmer. Avoid boiling the broth as it may make it cloudy. Once the broth reaches a simmer, reduce the heat to low and let it cook uncovered for at least 4 hours or up to 8 hours for richer flavor. Skim off any foam or impurities that rise to the surface during cooking.
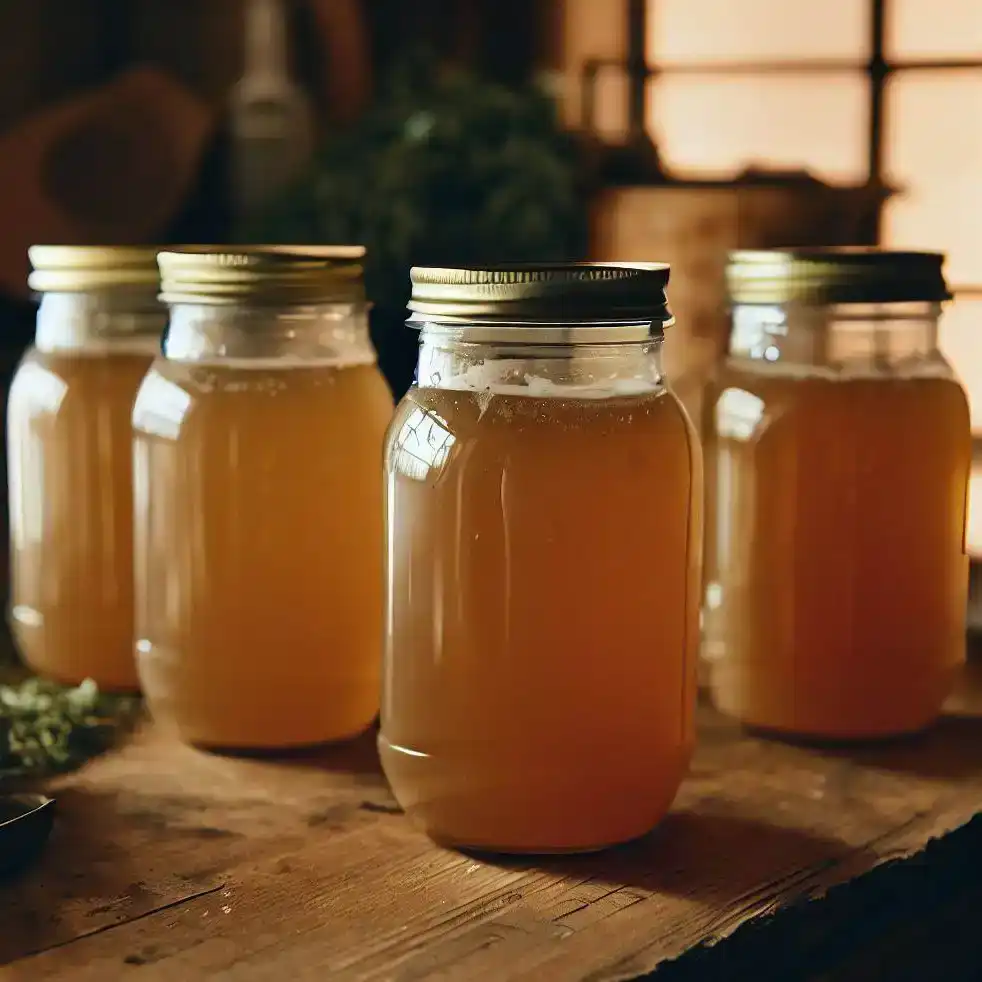
After the cooking time has elapsed, remove the pot from heat and let it cool slightly. Carefully strain the broth through a fine-mesh sieve or cheesecloth into a clean container, discarding solids (bones, vegetables and herbs). Season the broth with salt to taste. Start with a small amount and add more if needed. Remember that you can adjust saltiness when using broth in recipes later. Let broth cool completely before storing it. You can refrigerate it for up to 3 days or freeze it for longer-term storage.

Storing and Reheating: Save It for Later
The best way to store homemade chicken broth is to let it cool completely before transferring it to an airtight container. You can then refrigerate it for up to 3 days or freeze it for longer-term storage. If freezing, be sure to leave some space at the top of the container to allow for expansion as the broth freezes. You can also freeze the broth in smaller portions, such as in ice cube trays or muffin tins, for easier use in recipes.
Yes, you can reheat homemade chicken broth! If the broth has been refrigerated, you can simply transfer it to a saucepan and heat it over medium heat until it reaches your desired temperature. If the broth has been frozen, you can thaw it in the refrigerator overnight before reheating it on the stove. You can also reheat frozen broth directly on the stove or in the microwave but be sure to stir it frequently to ensure even heating.
Wrap-Up: Enjoy Your Homemade Chicken Broth
Now you have homemade chicken broth that can be used as a flavorful base for soups, stews, sauces or any recipe that calls for chicken broth. Enjoy your homemade creation and reduce food waste at the same time! It’s a win-win situation!
Steps
|
1
Done
15 min
|
Prepare the ingredientsBegin by collecting your chicken carcass or leftover bones in a large stockpot. If using a whole chicken carcass, you can break it down into smaller pieces for easier handling. If you have vegetable scraps like onion skins, carrot peels, or celery tops, add them to the pot. These will enhance the flavor of the broth but are not essential. Add the roughly chopped onion, carrots, celery and smashed garlic cloves to the pot. These vegetables will provide additional flavor to the broth. |
|
2
Done
5 min
|
Add herbs and spicesIf you have any fresh herbs like parsley, thyme or rosemary, tie them together with kitchen twine and add them to the pot. This step is optional but will add aromatic notes to the broth. Toss in the bay leaves and peppercorns. These spices will infuse the broth with additional flavor. Fill the pot with enough water to cover all the ingredients, leaving about an inch of space at the top. The exact amount of water will vary depending on the size of your pot and the quantity of bones and vegetable |
|
3
Done
480 min
|
Cook the broth from 4 hours to 8 hoursPlace the pot over medium heat and bring it to a gentle simmer. Avoid boiling the broth as it may make it cloudy. Once the broth reaches a simmer, reduce the heat to low and let it cook uncovered for at least 4 hours or up to 8 hours for richer flavor. Skim off any foam or impurities that rise to the surface during cooking. |
|
4
Done
10 min
|
Store the brothAfter the cooking time has elapsed, remove the pot from heat and let it cool slightly. Carefully strain the broth through a fine-mesh sieve or cheesecloth into a clean container, discarding solids (bones, vegetables and herbs). Season the broth with salt to taste. Start with a small amount and add more if needed. Remember that you can adjust saltiness when using broth in recipes later. Let broth cool completely before storing it. You can refrigerate it for up to 3 days or freeze it for longer-term storage. |


One Comment Hide Comments
This recipe was a hit with my family! The flavors were amazing and it was so easy to prepare