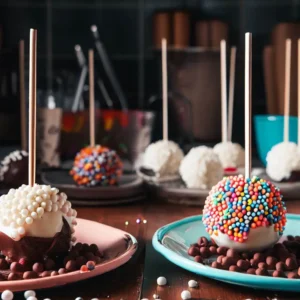
 Are you looking for a fun and easy way to satisfy your sweet tooth? Then you should try cake pops recipe. These adorable treats are the latest craze in the baking world, and for good reason. They’re bite-sized, customizable, and oh-so-delicious. Plus, they’re perfect for any occasion, whether it’s a birthday party, a baby shower, or just a lazy afternoon.
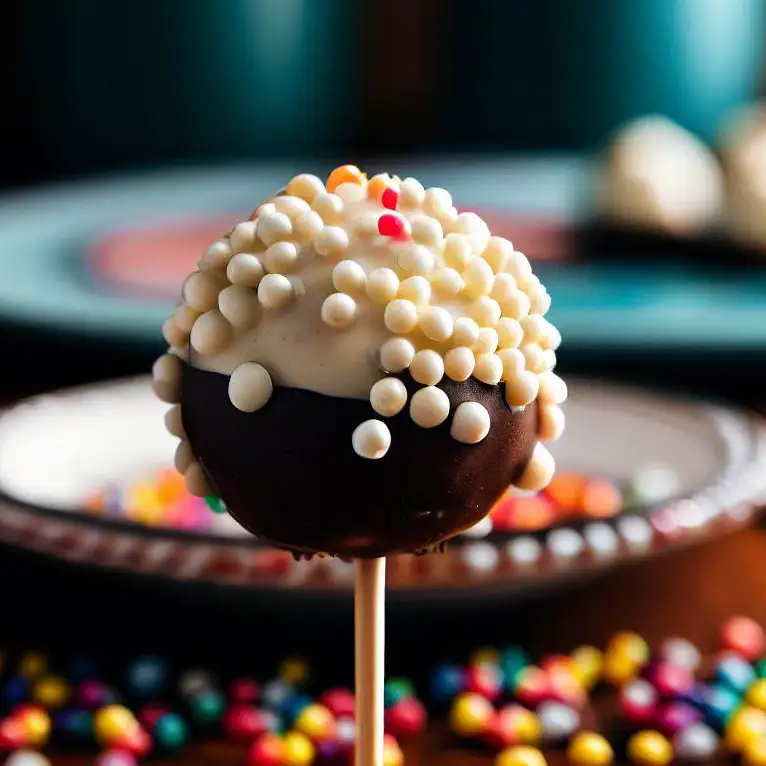
But what exactly are cake pops, and how did they become so popular? Well, as the name suggests, they’re basically mini cakes on sticks. To make them, you mix cake crumbs with frosting or chocolate, shape them into balls or other shapes, dip them in melted chocolate or candy coating, and decorate them with sprinkles, nuts, candies, or anything else you can think of. They’re like lollipops, but better.

The origin of cake pops recipe is somewhat unclear, but most people credit the blogger Angie Dudley from Bakerella for making them a phenomenon. She started posting her creations on her website in 2007 and soon caught the attention of celebrities like Martha Stewart and Oprah Winfrey. She even published a book called Cake Pops: Tips, Tricks, and Recipes for More Than 40 Irresistible Mini Treats in 2010.
There are endless

possibilities when it comes to making cake pops. You can use any flavor of cake and frosting you like, or even use a cake mix for convenience. You can also experiment with different shapes and decorations to suit your theme or mood. For example, you can make cake pops that look like animals, flowers, fruits, characters, or sports balls. Different colors and flavors of chocolate or candy coating can also add some variety.
The best part about cake pops is that they’re fun to eat and share. You can enjoy
them as a snack or a dessert, or give them as gifts or favors. They’re also great for kids, who will love rolling and dipping them. Just be careful not to eat too many at once, because they’re quite addictive.
So what are you waiting for? Grab your cake pan, your frosting bowl, your lollipop sticks, and your sprinkles, and get ready to make some cake pops. You’ll be amazed by how easy and fun they are to make and eat. They’re sure to make you smile and pop with joy.
Steps
|
1
Done
30 min
|
Bake the cakePreheat your oven to 350°F and grease a 9x13 inch baking pan. Prepare the cake mix according to the package directions and pour the batter into the prepared pan. Bake for 25 to 30 minutes or until a toothpick inserted in the center comes out clean. Let the cake cool completely in the pan on a wire rack. |
|
2
Done
15 min
|
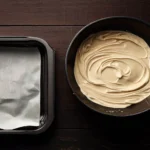
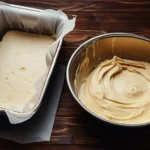
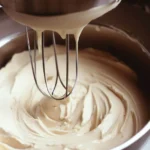
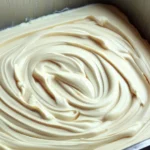
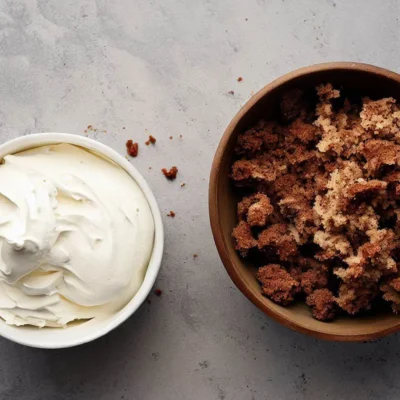
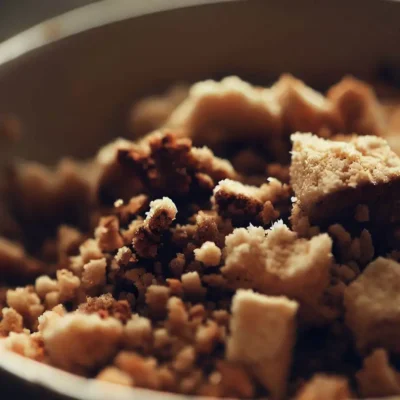
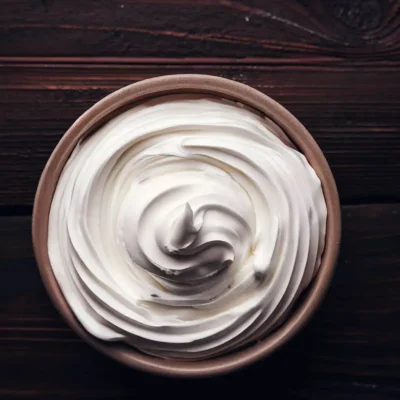
Make the frosting and crumble the cakeIn a large bowl, beat the butter with an electric mixer until creamy. Gradually add the powdered sugar, vanilla extract, and milk or cream and beat until smooth and fluffy. You may need to adjust the amount of sugar or milk to get the right consistency. The frosting should be thick but spreadable. Using your hands or a fork, crumble the cooled cake into fine crumbs in a large bowl. Add about half of the frosting and mix well with a wooden spoon or your hands. The mixture should be moist enough to hold together when rolled into balls, but not too smooth or sticky. You may not need all of the frosting, depending on how moist your cake is. |
|
3
Done
30 min
|
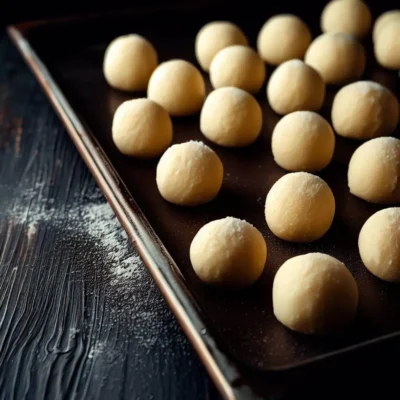
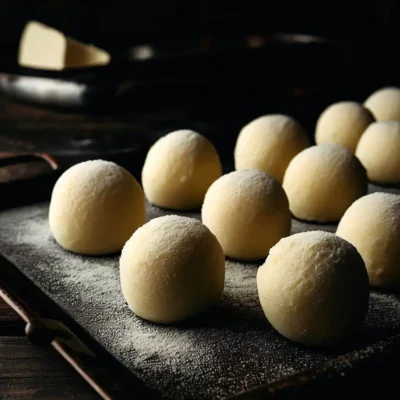
Shape and chill the cake popsLine a baking sheet with parchment paper or wax paper. Using a small cookie scoop or a tablespoon, scoop out portions of the cake mixture and roll them into smooth balls. Place them on the prepared baking sheet and insert a lollipop stick into each one. Refrigerate for at least 30 minutes or until firm. |
|
4
Done
15 min
|
Melt the chocolate and dip the cake popsPlace the dark chocolate and white chocolate melting wafers in separate microwave-safe bowls. Microwave each bowl for about a minute, stirring every 15 seconds, until melted and smooth. Dip each cake pop into either chocolate, letting the excess drip off over the bowl. You can also drizzle some chocolate over the cake pops for a contrasting effect. Sprinkle some decorations over the wet chocolate before it sets. Place the cake pops back on the baking sheet and let them dry at room temperature or in the fridge. Enjoy your homemade cake pops or store them in an airtight container in the fridge for up to a week. |










One Comment Hide Comments
The cooking time for this recipe was spot-on. I didn’t have to wait too long to enjoy a delicious meal